
Roasting Hatch Green Chile Peppers on Induction Cooktop: A Flavorful and Convenient Method
By roasting and storing Hatch green chiles using your induction cooktop, you'll have a versatile ingredient at your fingertips, ready to add that unmistakable smoky, spicy kick to your favorite dishes. Whether you're crafting salsas, adding depth to sauces, or creating unforgettable stuffed peppers, Hatch chiles will become an essential part of your culinary repertoire. Enjoy the smoky goodness!
Equipment
- Induction Cooktop
- Cast iron grill pan
- Tongs
- Airtight containers or resealable plastic bags
Ingredients
- Fresh Hatch green chiles
- Avocado oil
- Salt
Instructions
- Start by thoroughly rinsing the Hatch chiles under cold water. Pat them dry with a clean towel, ensuring they are moisture-free.
- Place your cast iron grill pan on the induction cooktop. Set the induction cooktop to medium-high heat. Allow the grill pan to heat up evenly.
- Lightly brush or spray the Hatch chiles with avocado oil. This step prevents sticking and enhances the smoky flavor during grilling.
- Carefully place the oiled Hatch chiles on the heated cast iron grill pan. Use tongs to rotate them occasionally. You want to blister and char the skin, giving the chiles their characteristic smoky taste. This usually takes about 5-7 minutes per side, but keep an eye on them to avoid overcooking.
- Once beautifully charred on both sides, use the tongs to transfer the grilled Hatch chiles to a clean plate. Allow them to cool for a few minutes before moving on to the next step.
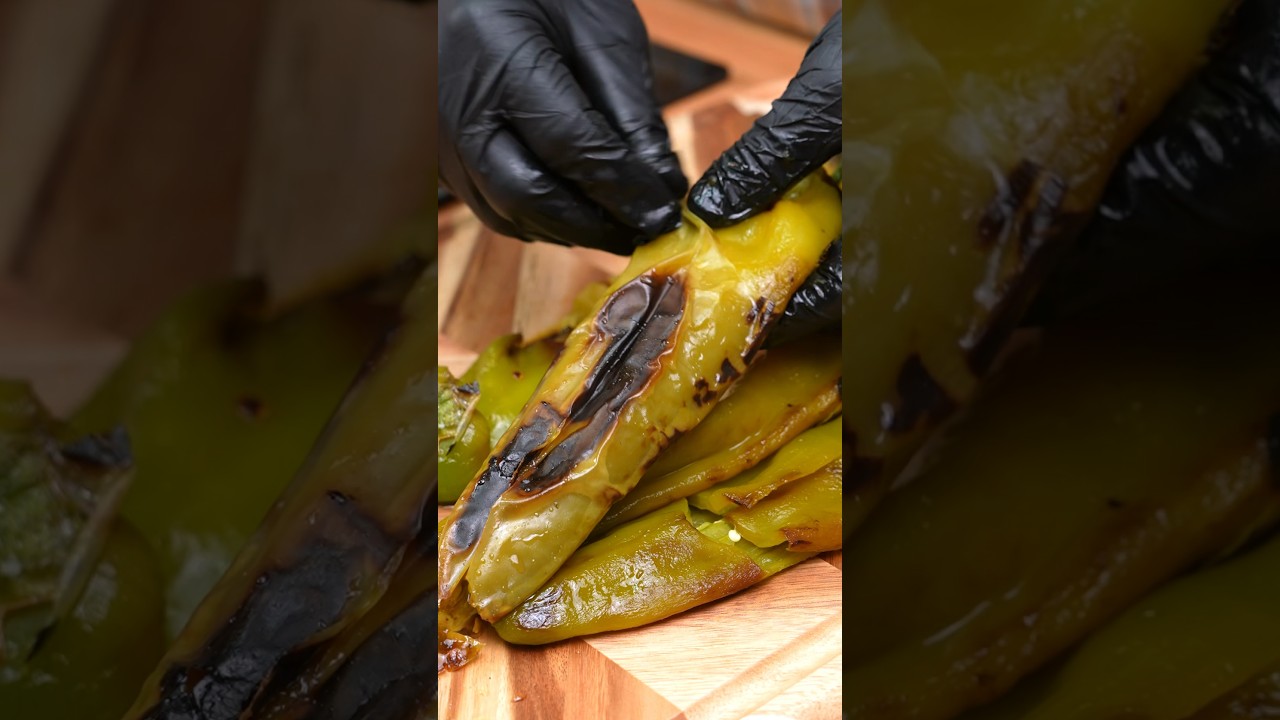
- You can take it a step further for added convenience. Roast the chiles as mentioned above, then peel off the charred skin. After peeling, you can puree the chiles or keep them whole, packing them into airtight containers or freezer bags. This method gives you the convenience of pre-roasted Hatch chiles, ready for use in various recipes.
- If you plan to use the grilled Hatch chiles within a few days, place them in an airtight container or resealable plastic bag. Store them in the refrigerator to keep them fresh and ready for your next culinary adventure.
- To enjoy the smoky goodness of Hatch chiles beyond the next few days, freezing is a fantastic option. First, let the grilled chiles cool completely. Then, remove the charred skin, seeds, and stems. Chop the chiles as needed and store them in airtight, freezer-safe bags or containers. This way, you can savor the taste of Hatch chiles year-round.
Video
Tried this recipe?Let us know how it was!